Ahki Tipi Manual
Assembly Instructions
NOTE: Recommended to set up in place with as much sunlight as possible – an unshaded area is best.
Assembly Instructions (PDF)
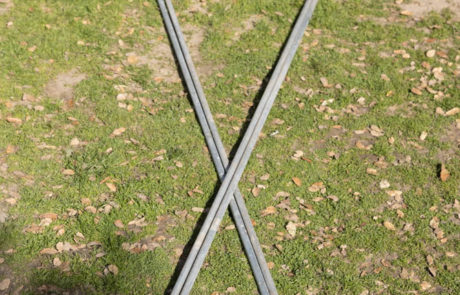
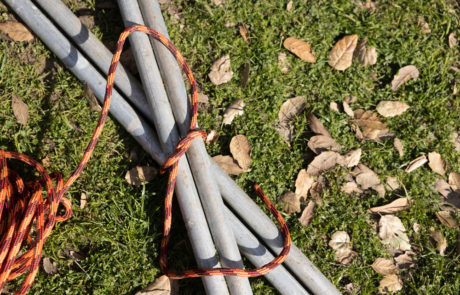
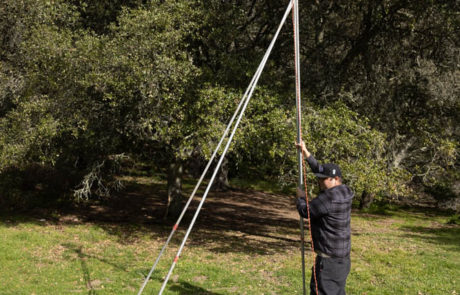
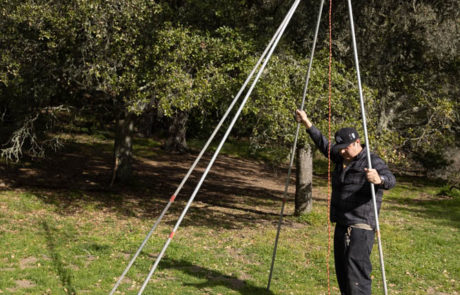
- Select the 4 thickest poles to create your base quadpod
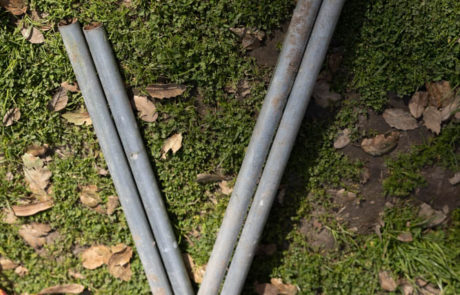
- Two of these poles are to be placed 5’ apart from each other, where you want the door entrance to be
- Two remaining pole are to be spaced evenly, opposite from the doorway
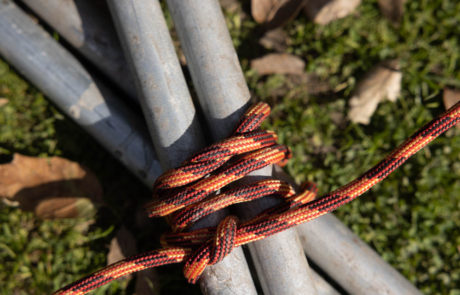
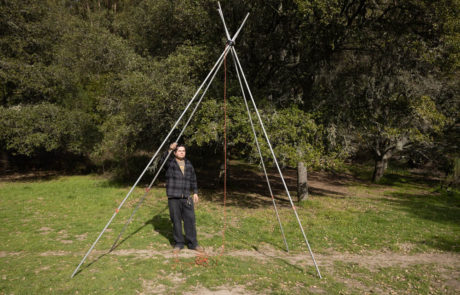
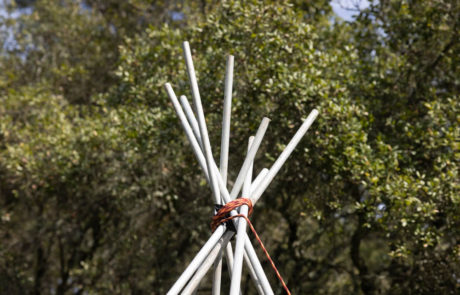
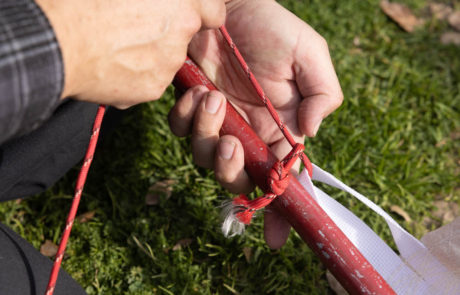
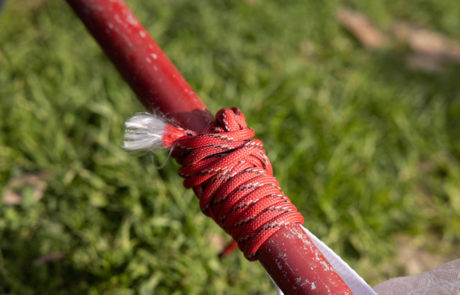
- Tie these 4 poles together ~ 15” lower than height of your tipi diameter (ex: for a 20’ diameter tipi, tie at 18’9”).
- Tie a little looser than you’d think. When tipi is raised the tie will tighten. Too tight will snap poles.
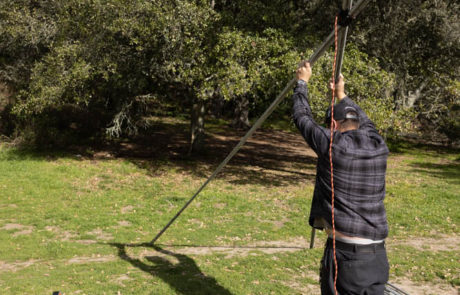
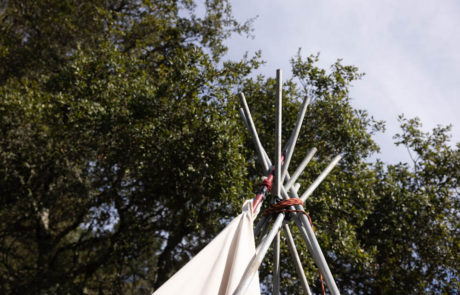
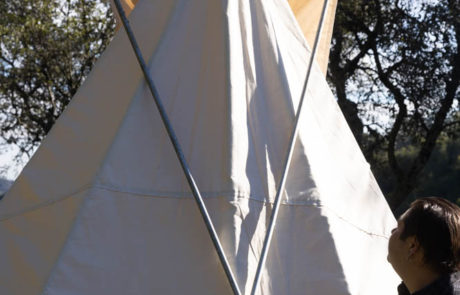
- Stand up quadpod by walking under the poles. Spread poles to be evenly spaced along the circumference of the tipi
- Long end of rope will hang down into center of tipi, (we’ll get back to it later)
- Inserting the rest of the poles:
- Save 2 longest poles for your smoke flaps
- Lay each pole around the base approx. 3-4 ft apart
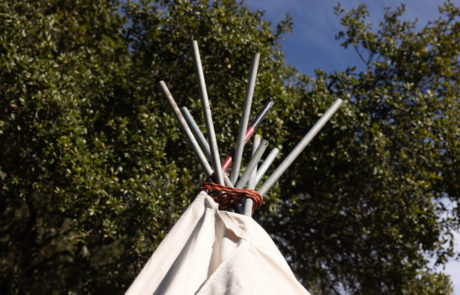
- Wrap the rope around the cradle every two poles
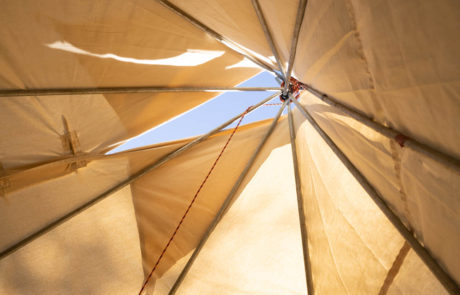
- Starting at entryway, stack rest of poles to rest in the cradle at top of tipi. … butt of poles should be placed by bottom of the cover
- Make sure one extra pole space is directly opposite door entry (between poles from 1b); this is called your “lift pole”
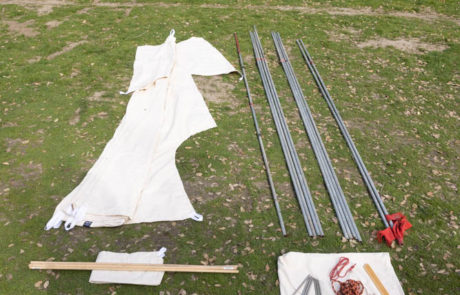
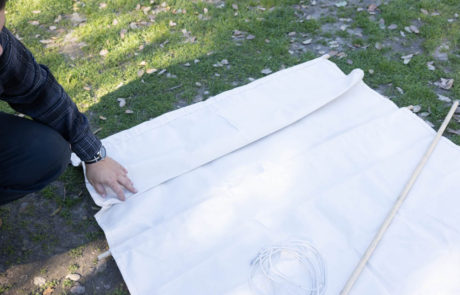
- Unpack tipi cover:
- On a dry flat surface, take tipi out of shipping bag.
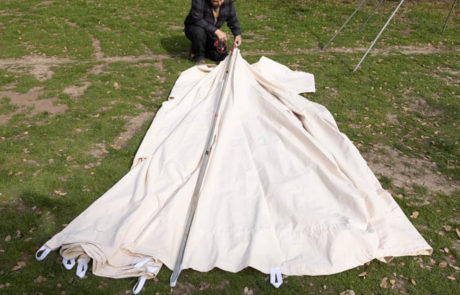
- Stand 20’ away from rear poles of tipi. Leave top of canvas here and roll back towards your rear poles
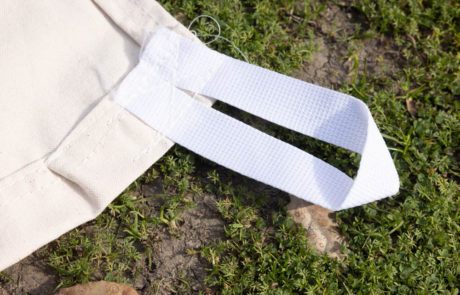
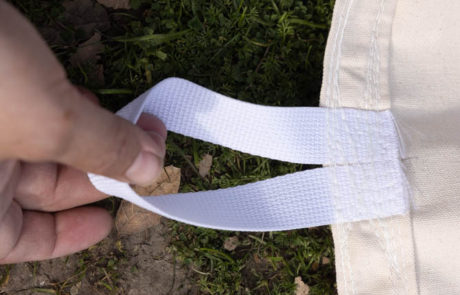
- base of tipi has a double stitched center loop strap. Make sure this is centered directly opposite doorway opening.
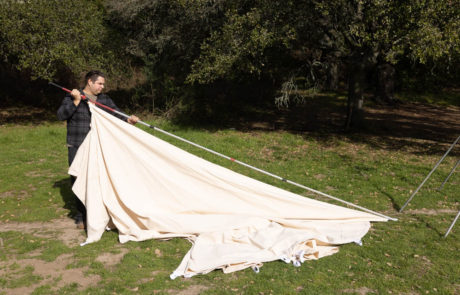
- Tie your lift pole (from 3e) to the cradle (top) of tipi with a 2’ piece of rope.
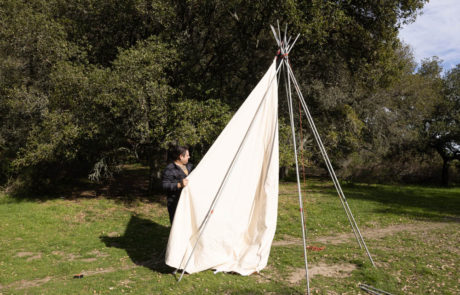
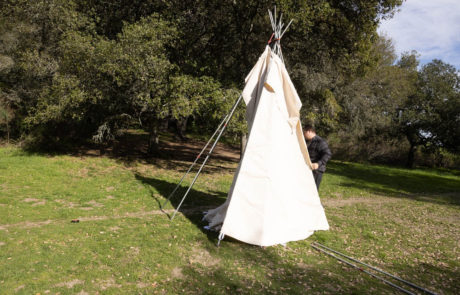
- Unfold cover from both sides exposing the underside (finished side on the ground) keeping tie at top exposed
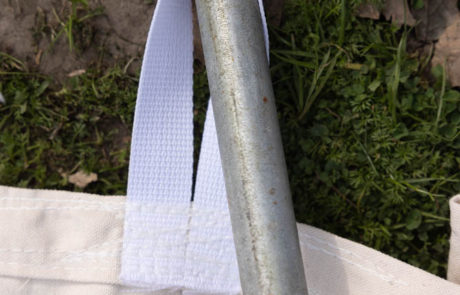
- Set the bottom of the lift pole into center loop strap
- On a dry flat surface, take tipi out of shipping bag.
- Cover installation:
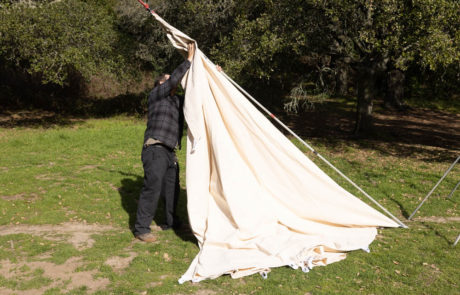
- Have someone hold lift pole in place on ground while you lift top of pole (w/ cover attached) into the open spot opposite doorway into the center of the top cradle
- much easier if you lift cover separately from lift pole (?)
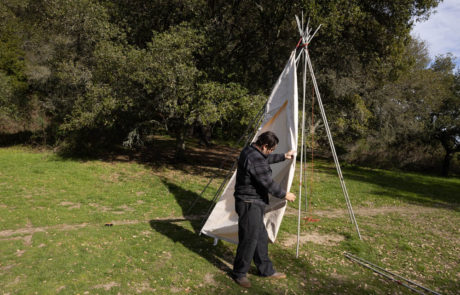
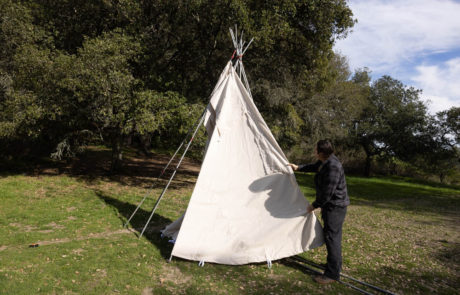
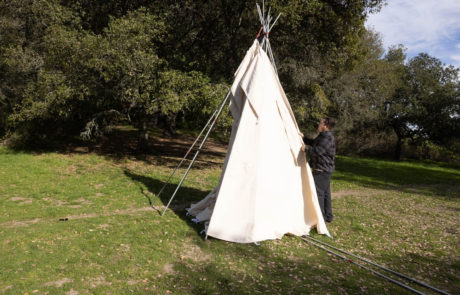
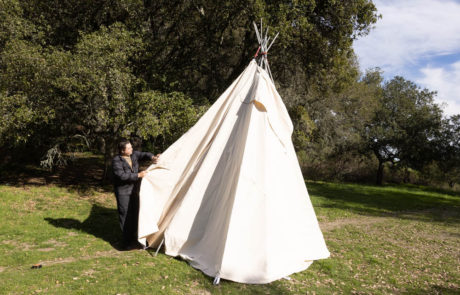
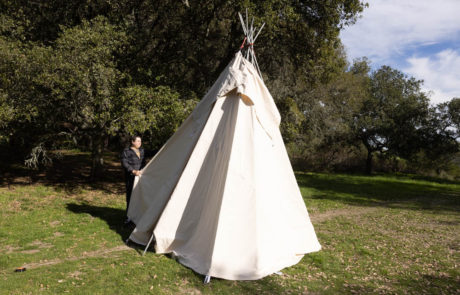
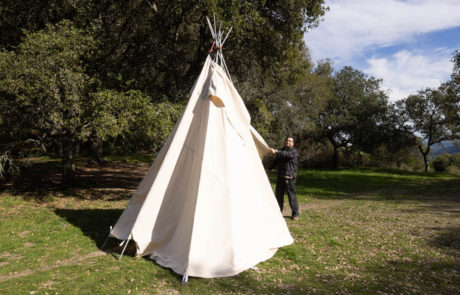
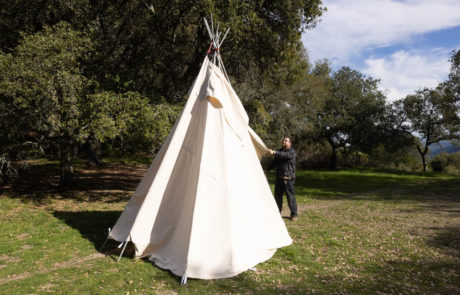
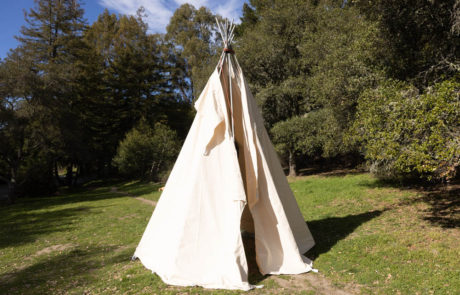
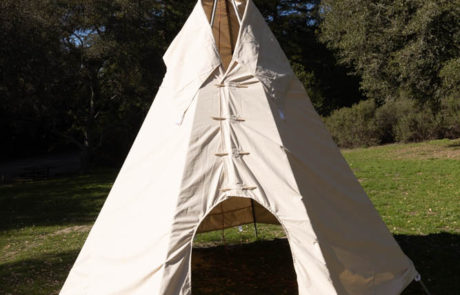
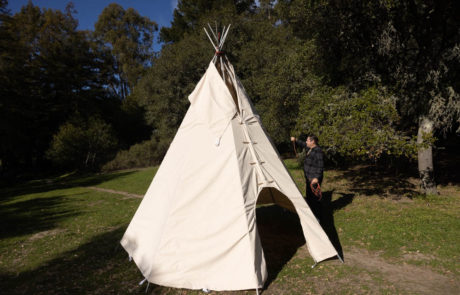
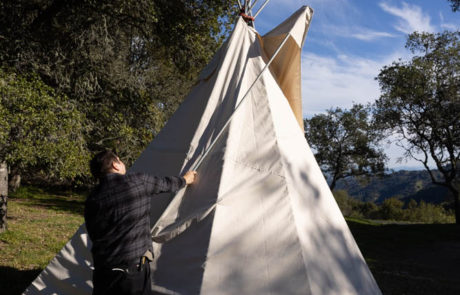
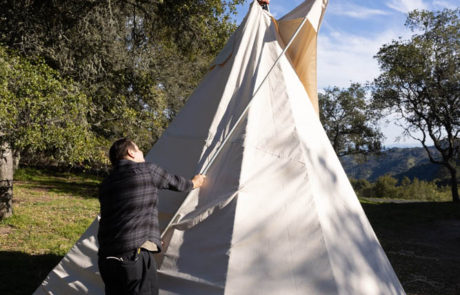
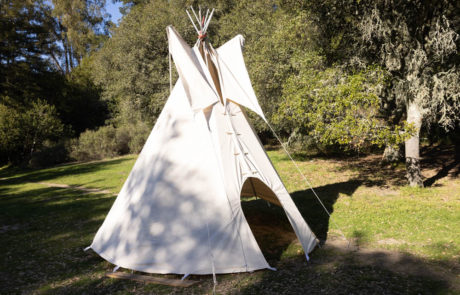
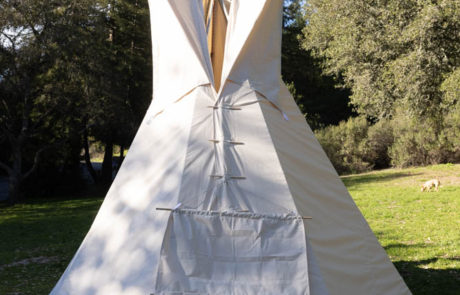
- Wrap canvas around frame to front of tipi… now its starting to look like tipi!
- Install Lace Pins:
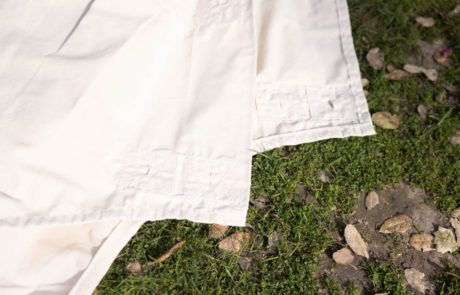
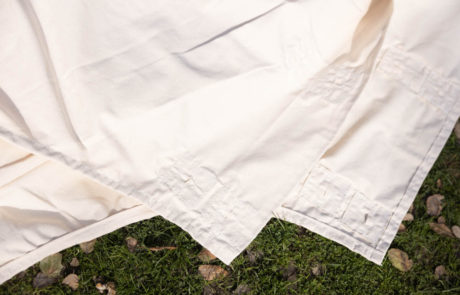
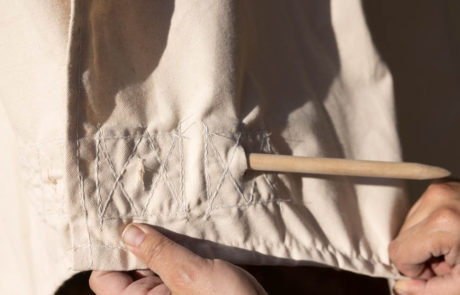
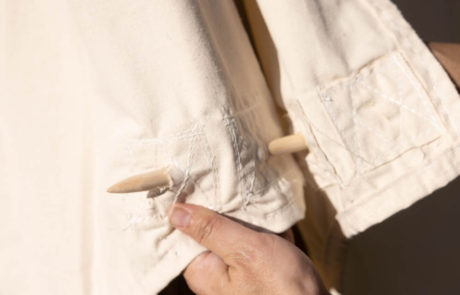
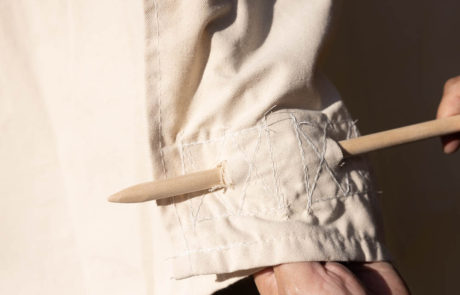
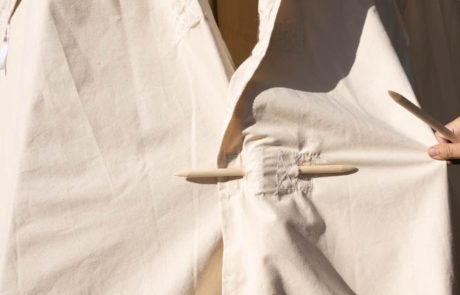
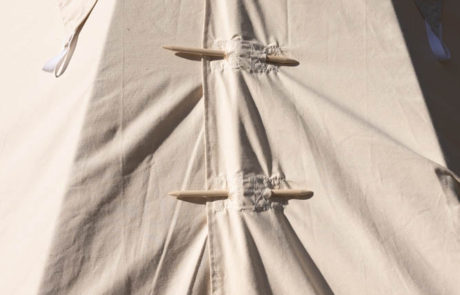
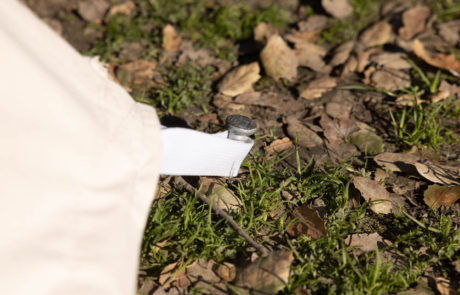
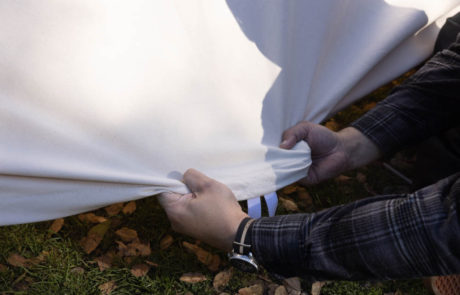
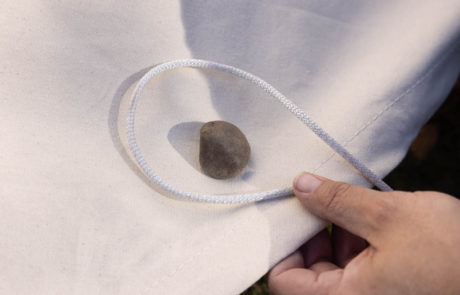
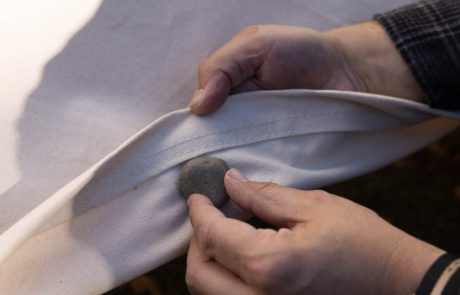
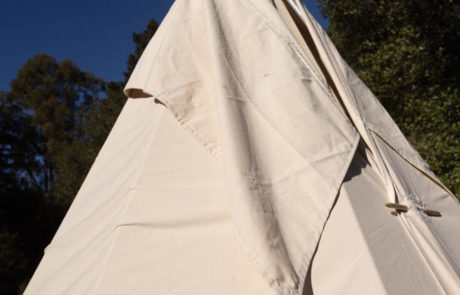
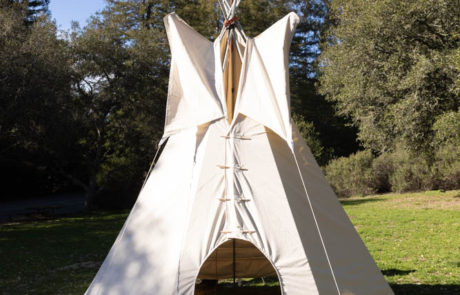
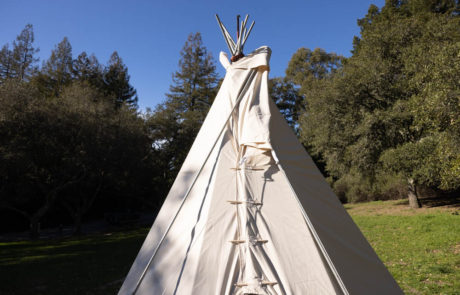
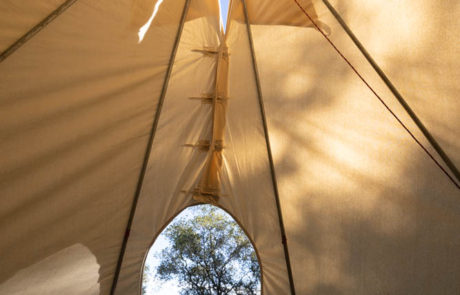
- Starting at top, place lace pins in overlapping holes that hold the front of cover together (? Buttons on a jacket?)
- Ground Stakes:
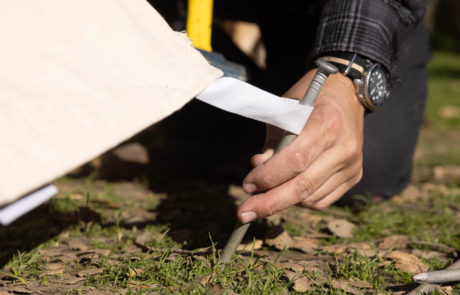
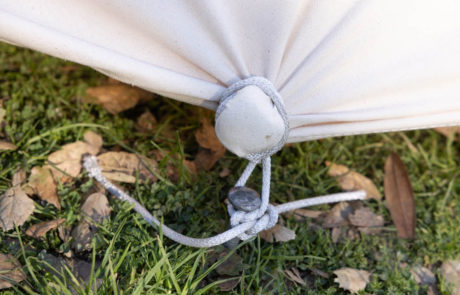
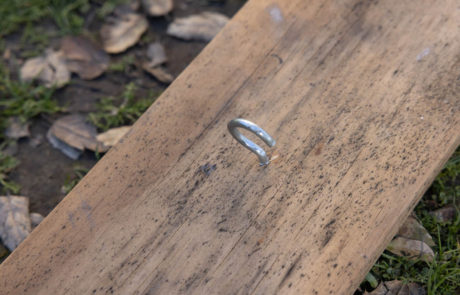
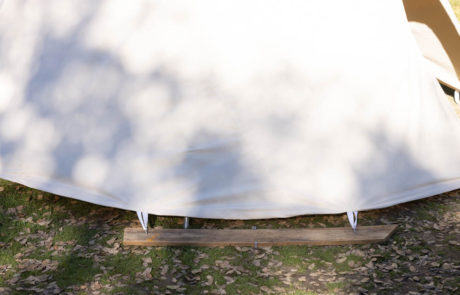
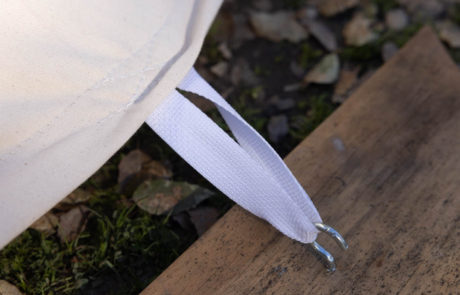
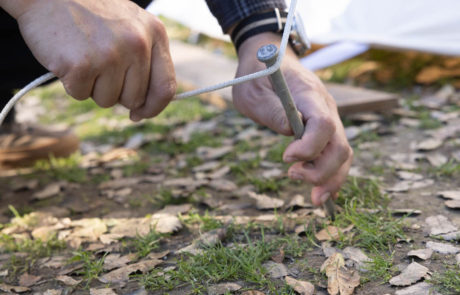
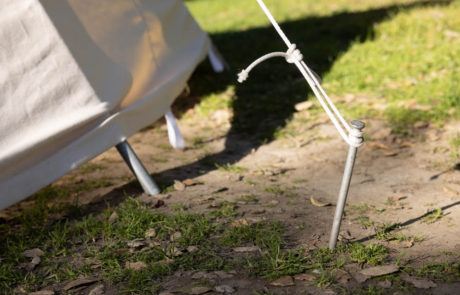
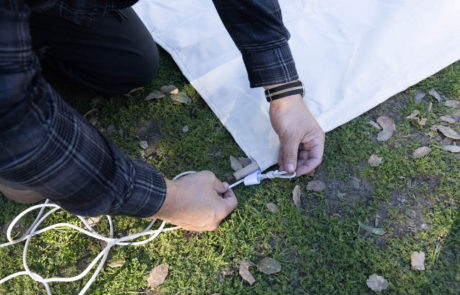
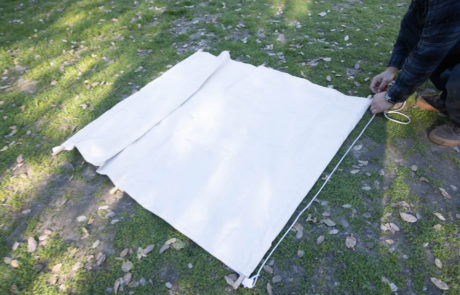
- Stake the bottom out and adjust poles until cover lays tight & stretched. Poles are pushed out/in/over until evenly spaced and snugly fit to cover.
- troubleshooting will make itself known here…
- With long end of rope, bring outside cover through smoke flap opening, and walk around tipi three times; lace rope back through same smoke flap opening back inside.
- if in a high wind area, use a stake to secure long end to ground in center of tipi
- Smoke Flaps (with your two remaining poles from 3a):
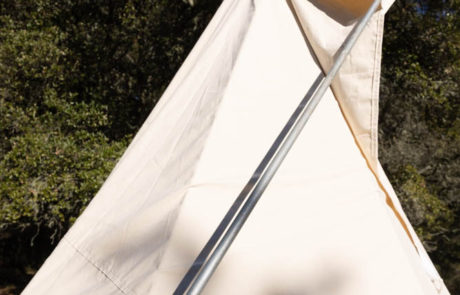
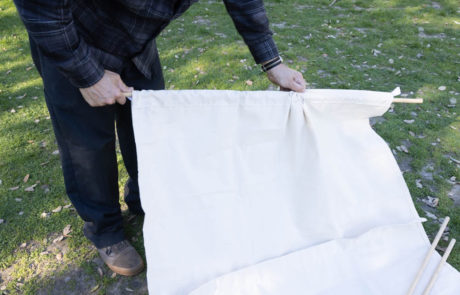
- Insert each pole into pocket at top of smoke flaps
- Tie rope through loop straps at bottom of smoke flap to ground & secure with stake
- Open position: Criss-cross smoke flaps around rear of tipi to extend them out
- Closed position: wrap poles around towards entrance so that flaps overlap around cradle
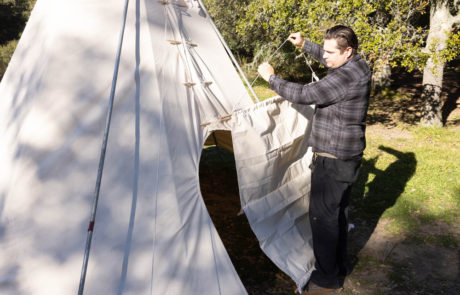
- Attaching Door Flap:
- Materials to have on hand:
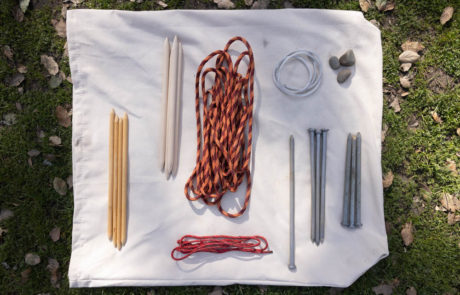
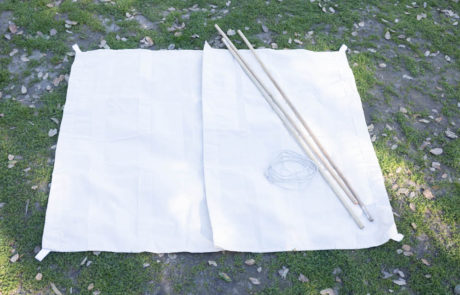
- 3 @ ¾” x 4’ wooden dowels
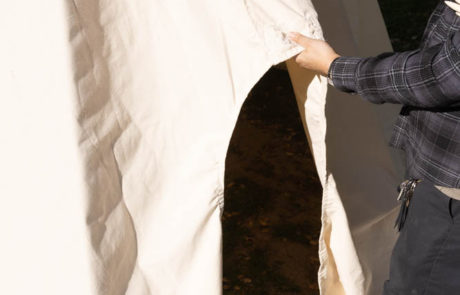
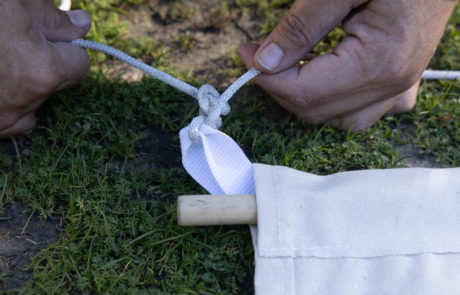
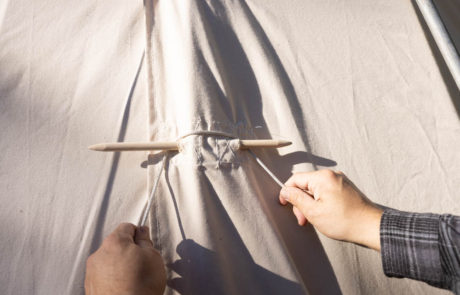
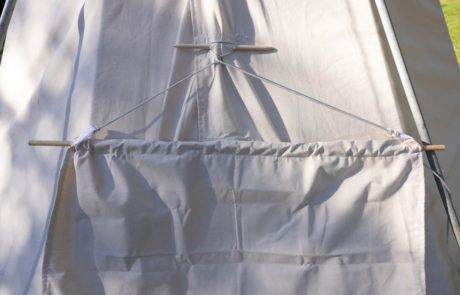
- Insert dowels into pockets of door flap
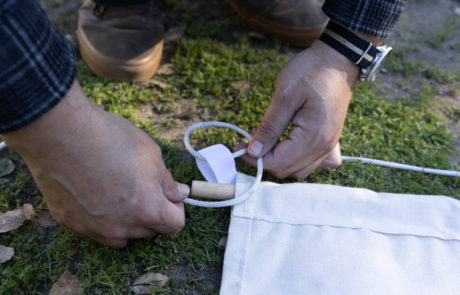
- Tie 6’ length of rope across two straps
- Loop around bottom lace pin to secure door
- Bottom straps can be secured if you want, or door can hang freely over entrance
- Materials to have on hand:
Waterproofing
If you plan to leave tipi outside for longer than 48 hours, or in a damp climate ever, waterproofing and/or painting treatment is strongly recommended.
Materials needed:
- 1-gallon Thompson’s Water Seal
- 1-pint mineral spirits
- Pressure sprayer
- Must be good quality sprayer; like the one you’d use to fertilize your lawn.
- Clean sprayer system thoroughly before and after use; hose will clog if not rinsed after use
Note: These measurements are for 16’ tipi, adjust accordingly for larger models
Instructions:
- Easiest when laid out on flat ground
- Spray evenly on outside of tipi cover, straps, flaps, etc.
- Let dry for 6 hours
- Set tipi upright & allow to dry further overnight
Note: This treatment should last one year even if you leave your tipi up year-round
Painting
NOTE: Waterproof BEFORE painting your tipi.
Painting info:
- Easiest when laid out on flat ground
- Water-based or acrylic paint ONLY. Do not use enamel or oil based paints
- Material is very absorbent and may take several coats to achieve desired effect
Mildew info:
- Most common tipi killer is mildew; it’s very destructive to the cotton canvas cover
- Most often forms when cover is stored damp, but can also develop out in open air
- To kill/stop growth of mildew:
- Preferably dry tipi in the hot sun
- Additional options:
- 1 bottle cap of bleach mixed into 16oz. water in spray bottle
- Lemon, cut in half & rubbed on mildewed areas
- If possible, leave out in sunlight & open air to dry after treatment

